
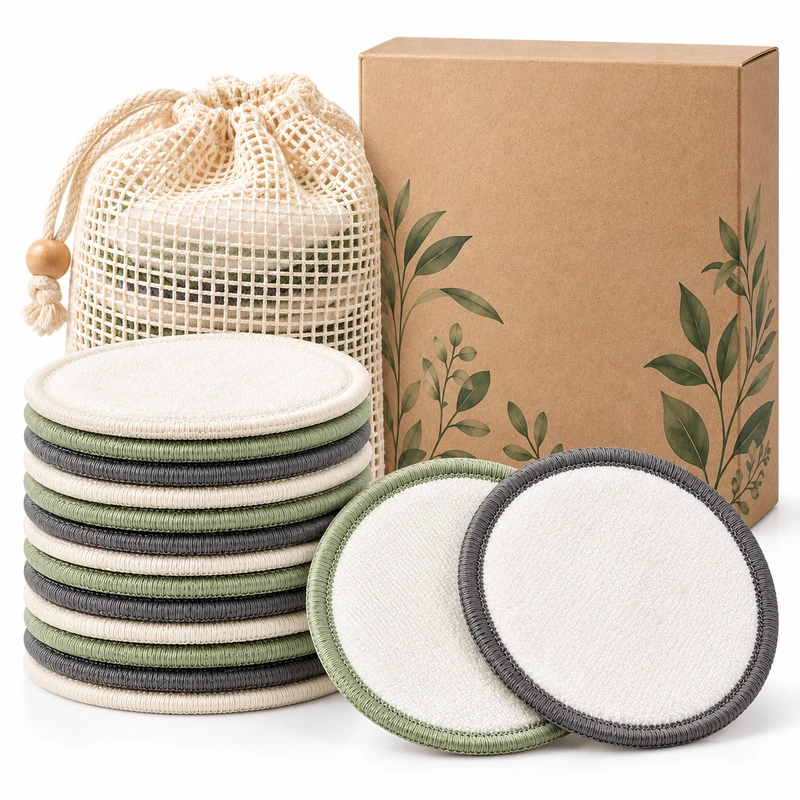
Inspect a reusable facial round as a finished, identified sample. Agree the target diameter and tolerance, check the overlock coverage around the full edge, compare shape and layer alignment across pieces, and record any requested material or wash checks. Sign off the sample version only after its written specification matches what you reviewed.
What a serged edge means
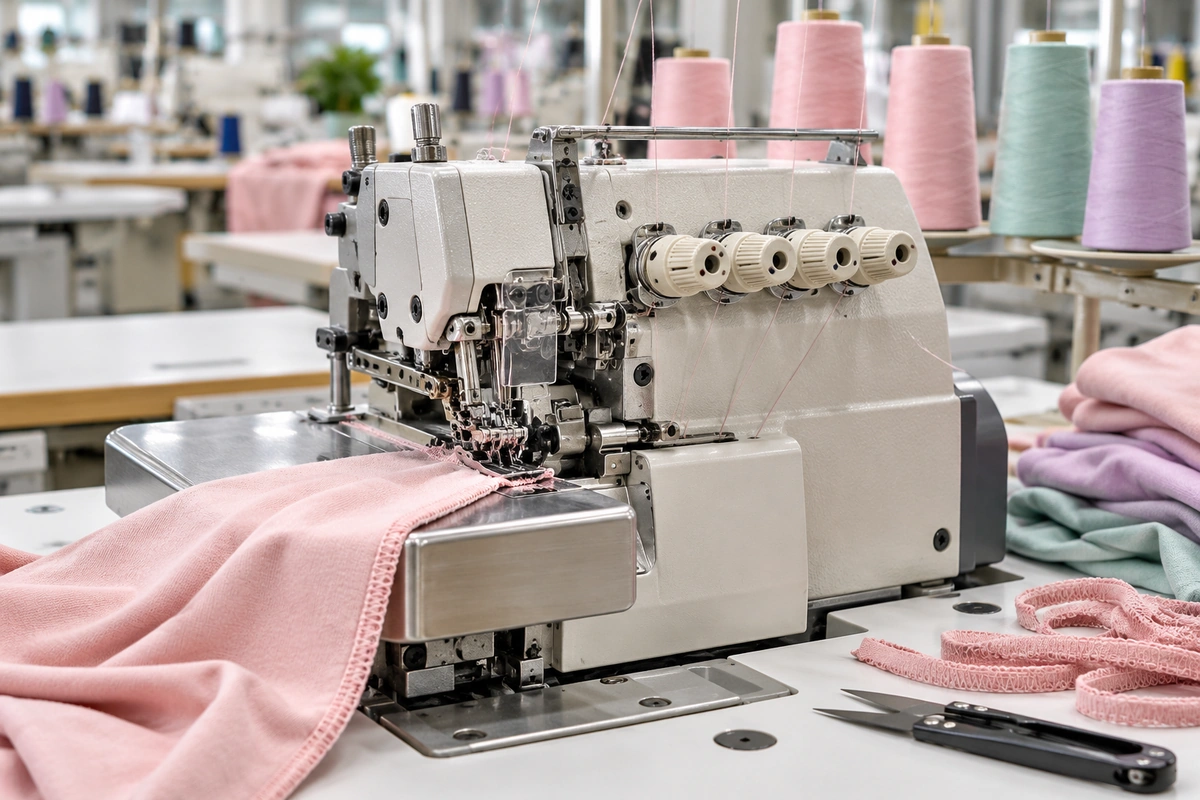
A serged edge is made with an overlock stitch that wraps around the cut perimeter. It finishes the edge of the layers; the name alone does not establish stitch density, thread content, durability or a specific performance outcome. Ask the supplier to describe the proposed construction and state what edge appearance is acceptable for your product.
Examine the entire circumference rather than judging one attractive section. Look for consistent stitch coverage, secure-looking starts and joins, missed sections, loose loops, visibly exposed cut areas, pulled fabric or abrupt changes in tension. Note the location of an observation with a simple clock-face reference or a marked photograph. These are buyer inspection prompts, not a claim that any pictured or catalogued product has passed them.
Measure the diameter after finishing
Set the target diameter and an acceptable tolerance before comparing samples. If the requested target is 3 inches, treat that as a buyer-provided target only until the supplier confirms the finished measurement and tolerance for the sample. Measure the completed round after the edge has been sewn, on a flat surface without stretching it. Record the measuring tool, the point-to-point method and readings across more than one axis so an oval or uneven perimeter is not hidden by a single measurement.
Check that the tape or ruler crosses the center and compare opposing directions. For a sample set, record each piece or use a documented sampling rule agreed by both sides. Keep the raw readings rather than only writing “pass.” If a tolerance has not been agreed, report the measured values and ask for a decision before treating the dimension as accepted.
Resolve shape and layer ambiguity
“Round” can describe different outcomes: a circular outline, a softly rounded shape or a particular visual profile. State what the buyer means with a dimensioned drawing or a marked reference image. Clarify whether the dimension is measured across the fabric body, the finished outer edge or another defined boundary. A serged edge may add visible width beyond the cut layers, so make the measurement convention explicit.
Lay the piece flat and compare the top and bottom layers at several points around the perimeter. Look for consistent alignment, puckering, folds caught in the seam or a pronounced change in outline. Photograph the sample from directly above beside a ruler and retain the view with its sample number. If appearance matters, define an acceptable visual range rather than relying on “perfectly round.”
Check stitch and edge consistency across the sample
Request material confirmation and a wash evaluation
Do not infer fiber content, layer count, organic status or skin-related properties from a product name, color or photograph. Ask the supplier to confirm the exact fiber percentages and the construction of each layer in writing for the sample version under review. If a 2-ply build or a bamboo/cotton blend is required, state it as a requirement and keep any unconfirmed percentages open until the supplier responds. Do not describe a product as organic or hypoallergenic without applicable documentation and substantiation.
If repeated laundering is important to your intended care instructions, request a wash evaluation before approval. Agree the method, detergent, temperature, drying conditions and number of cycles with the supplier in advance. Record the sample identity and the before-and-after dimensions, shape, layer alignment and edge condition. Define your own acceptance criteria with the supplier; a result from one sample and set of conditions does not establish a broader durability or care claim.
Approve a specific sample version
Give each submitted sample a version or reference and record the date received, claimed materials, finished measurements, edge observations, requested evaluations, open questions and disposition. Use dated photos and mark locations needing correction. State whether the sample is approved, approved subject to named changes, or not approved. Avoid an informal “looks good” when composition, dimensions or the edge specification remains unresolved.
When revisions are made, request a new identified version and recheck the changed features. The final approval should connect the physical sample to the written specification, packaging brief and order confirmation. The broader sample approval guide covers version control and sign-off before bulk production.
Turn inspection notes into a sourcing brief
For the next step, combine the intended use, target finished diameter and tolerance, shape reference, requested layer build, supplier-confirmed composition, edge-finish description, colors, care evaluation and packaging details. Mark assumptions and unconfirmed points clearly. The companion private-label reusable facial-round specification checklist helps organize those fields before requesting pricing.
Review available reusable makeup-remover pads and facial-round styles as visual references, and see the material comparison guide for questions to ask about fiber labels. For a project-specific offer, send the sample reference, target quantity, packaging needs and destination through Request a Quote. Confirm price, minimum order quantity and lead time directly for the selected version.
Frequently asked questions
What should I look for on a serged facial-round edge?
Check the full perimeter for consistent coverage, stitch appearance, secure joins, aligned layers and any exposed cut edge or loose loops. Agree the acceptable finish with the supplier and record observations against the sample version.
How do I check whether a facial round is 3 inches?
Agree the finished-diameter target, tolerance and measurement convention first. Measure the sewn sample flat, across the center on multiple axes, without stretching it, and retain the individual readings.
Can I approve a sample based on a photograph?
A photograph helps document appearance but cannot confirm fiber composition, layer construction or care performance. Inspect the identified physical sample and obtain written confirmation of specification details.
Does a wash check prove the rounds are durable?
A wash evaluation documents only the sample and conditions tested. Agree the method and acceptance criteria beforehand, record before-and-after observations and avoid broad claims beyond that evidence.